Self-Driving Car: Part 2
Raspberry Pi, camera, buck converter.
As a reminder, in the first part of this robotic car project I was using an Arduino as the main controller of the motors for each the four wheels. An ultrasonic sensor was also used (with a simple algorithm) to allow the car to drive somewhat autonomously. In this next phase I wished to introduce a Raspberry Pi to the car, as this will further down the line enable more AI capabilities. However first I needed to just get used to working with the Pi, and I started by a) making sure I could power the Pi while it was on the moving car, and b) have the Pi running a small camera and stream it’s view live over Wifi. A camera provides much richer context than a ultrasonic sensor, which literally just tells you how far away the nearest object is along the straight in front of car. A camera also allows me to remotely drive the car, and will be necessary to test Vision Language Action (VLA) models soon.
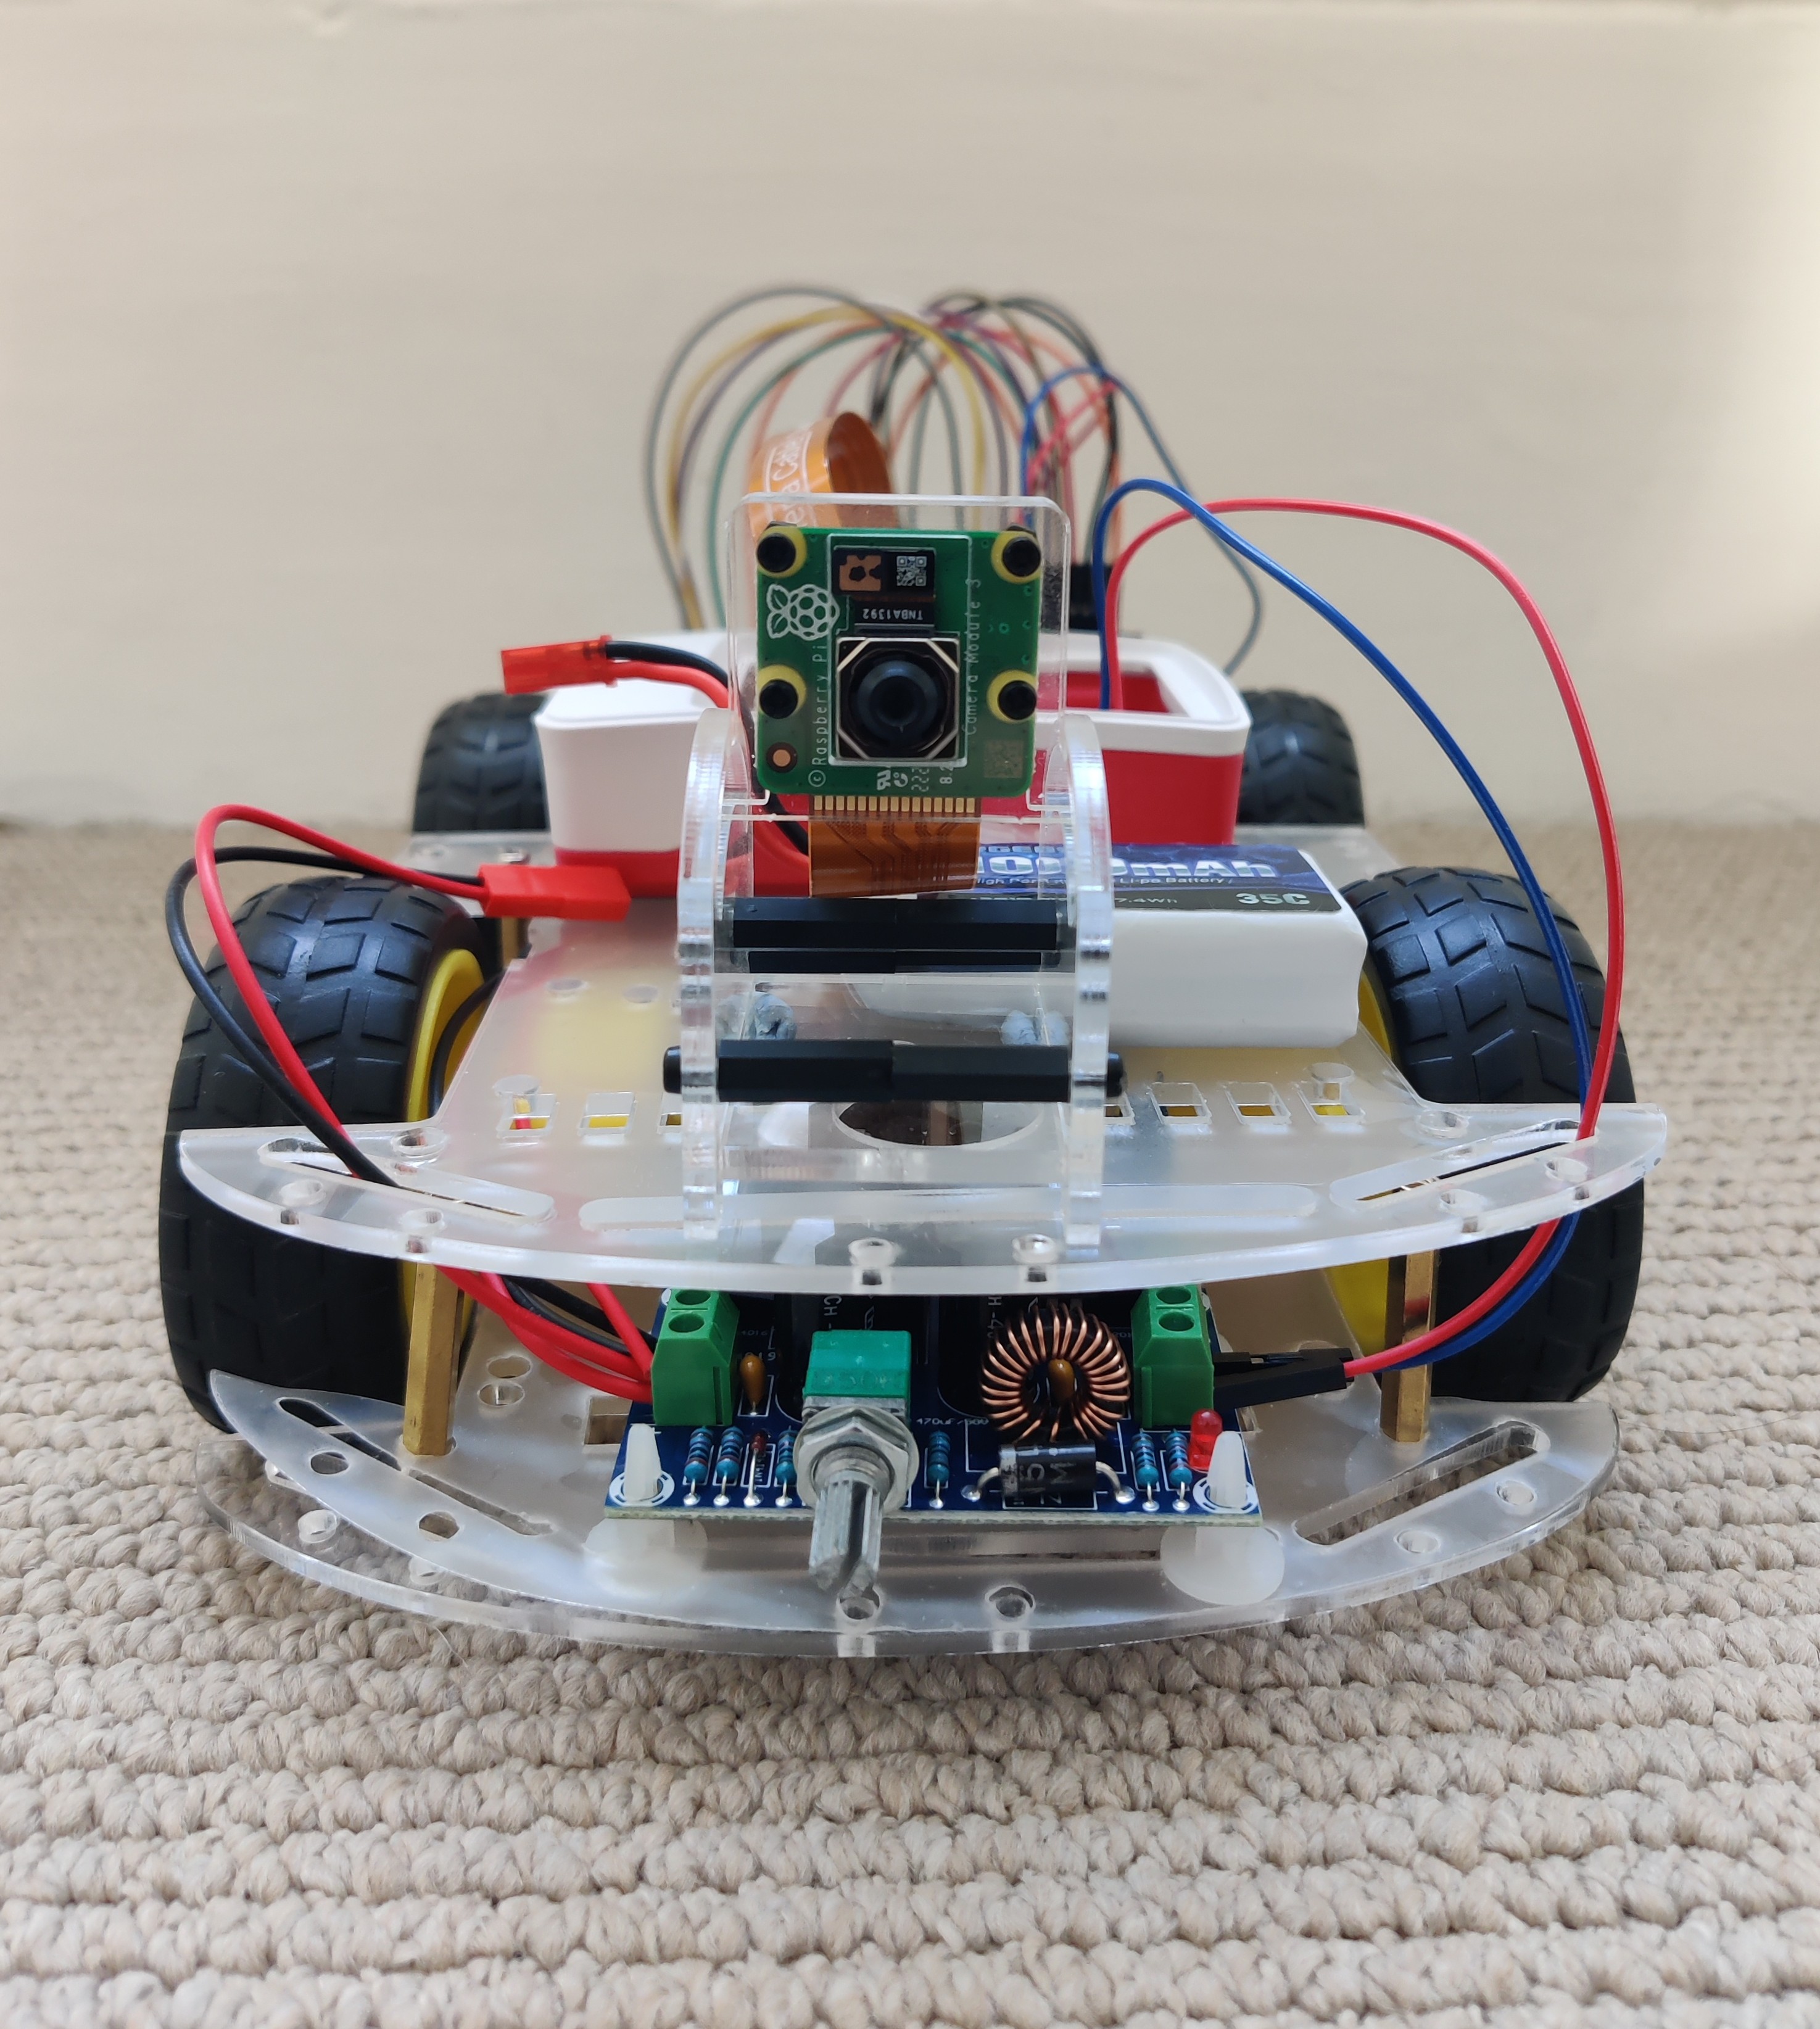
As usual there were all sorts of unexpected hurdles with this. I realised for instance the Pi requires precisely 5V/5A from its power source, and debated whether to get a power bank that could achieve 25W of power, or get a buck converter that can lower the voltage coming from my Lipo batteries to the required 5V. The buck converter seemed like the more standard approach in robotics, and was certainly much cheaper, so I went with this (see the bottom of the front of the car). It’s largely worked well, except for the fact that the knob to tune the output voltage is extremely sensitive, so I am fearful that any minor bump to the car will cause the buck converter to output a dangerous voltage that will damage the Pi. I will need to look into getting a voltage protection module, or fixed voltage buck converter soon.
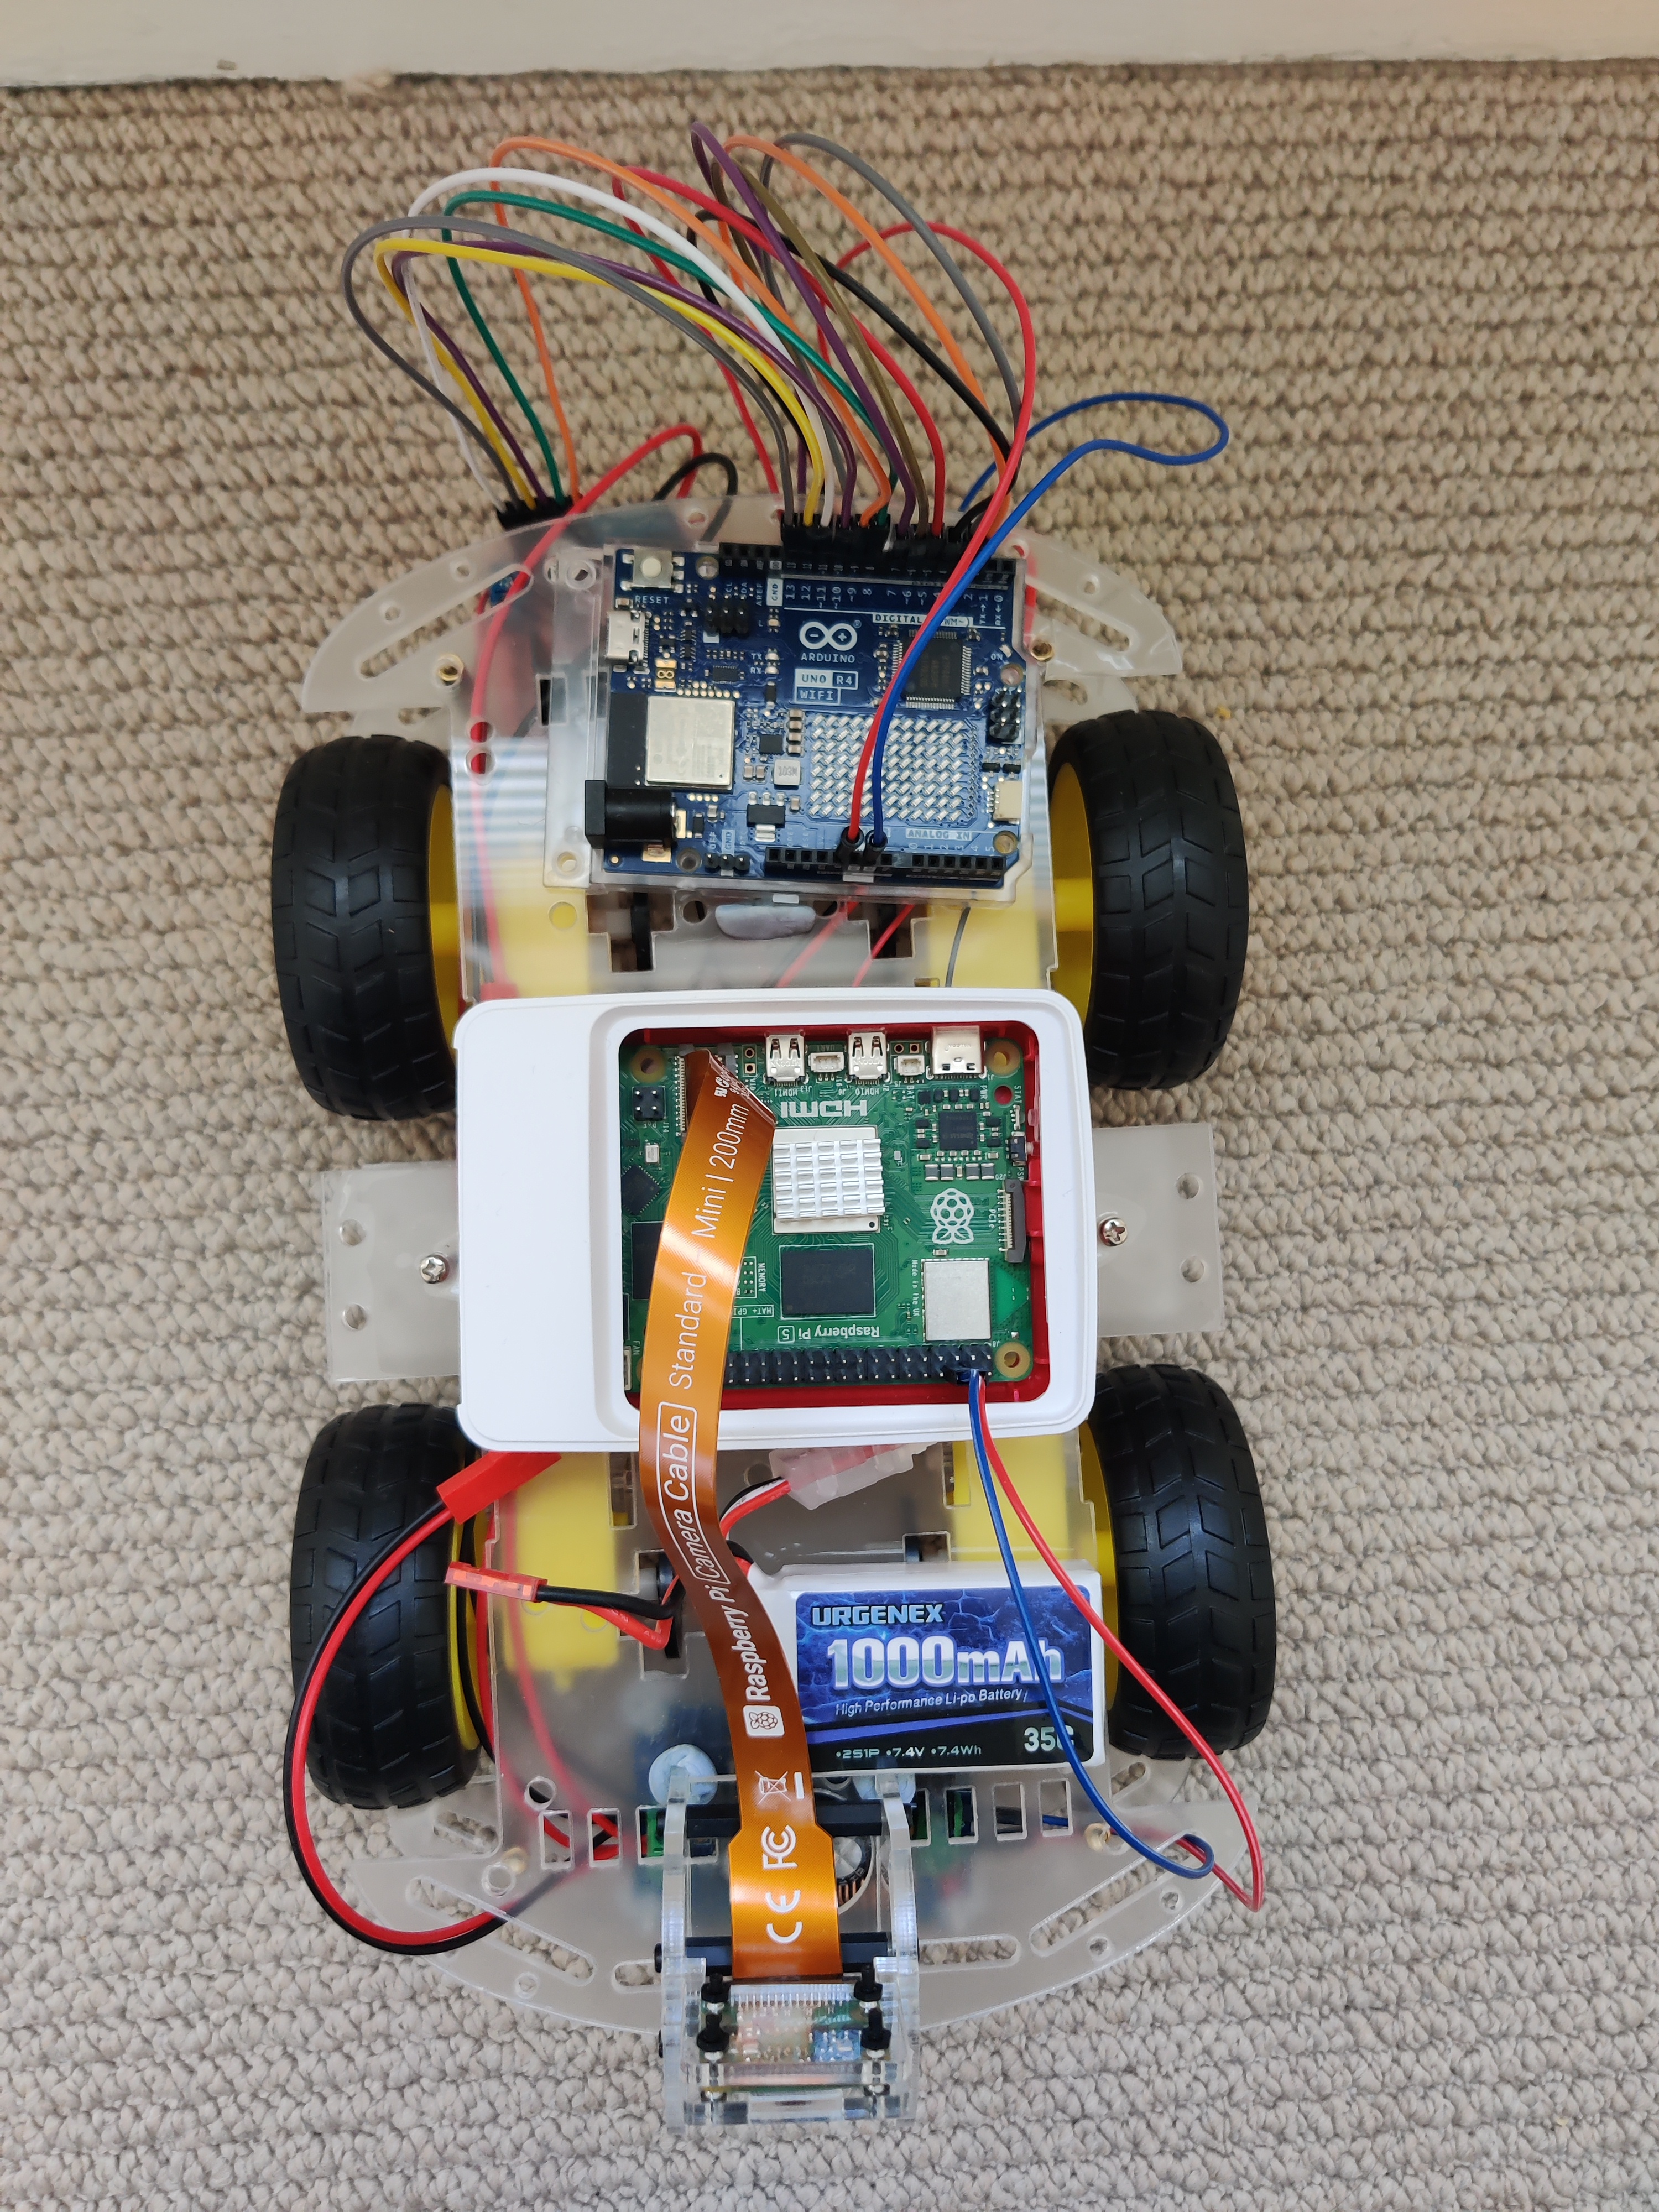
As can be seen from the top view of the car, the Arduino has remained part of the car’s system. This is configured similarly to before, with its pins going to two L298N motor drivers (seen in the image below, now moved to the undercarriage of the car), which are then connected to the four motors. However this time I coded the Arduino to act as a web server on my local WIFI network, and coded a simple Python script on my laptop to send messages to this server in the form of controls to direct the movement of the car. Combined with the Pi’s camera, this has made for a very fun setup, allowing me to remotely control the car anywhere around my flat from the comfort of the sofa!
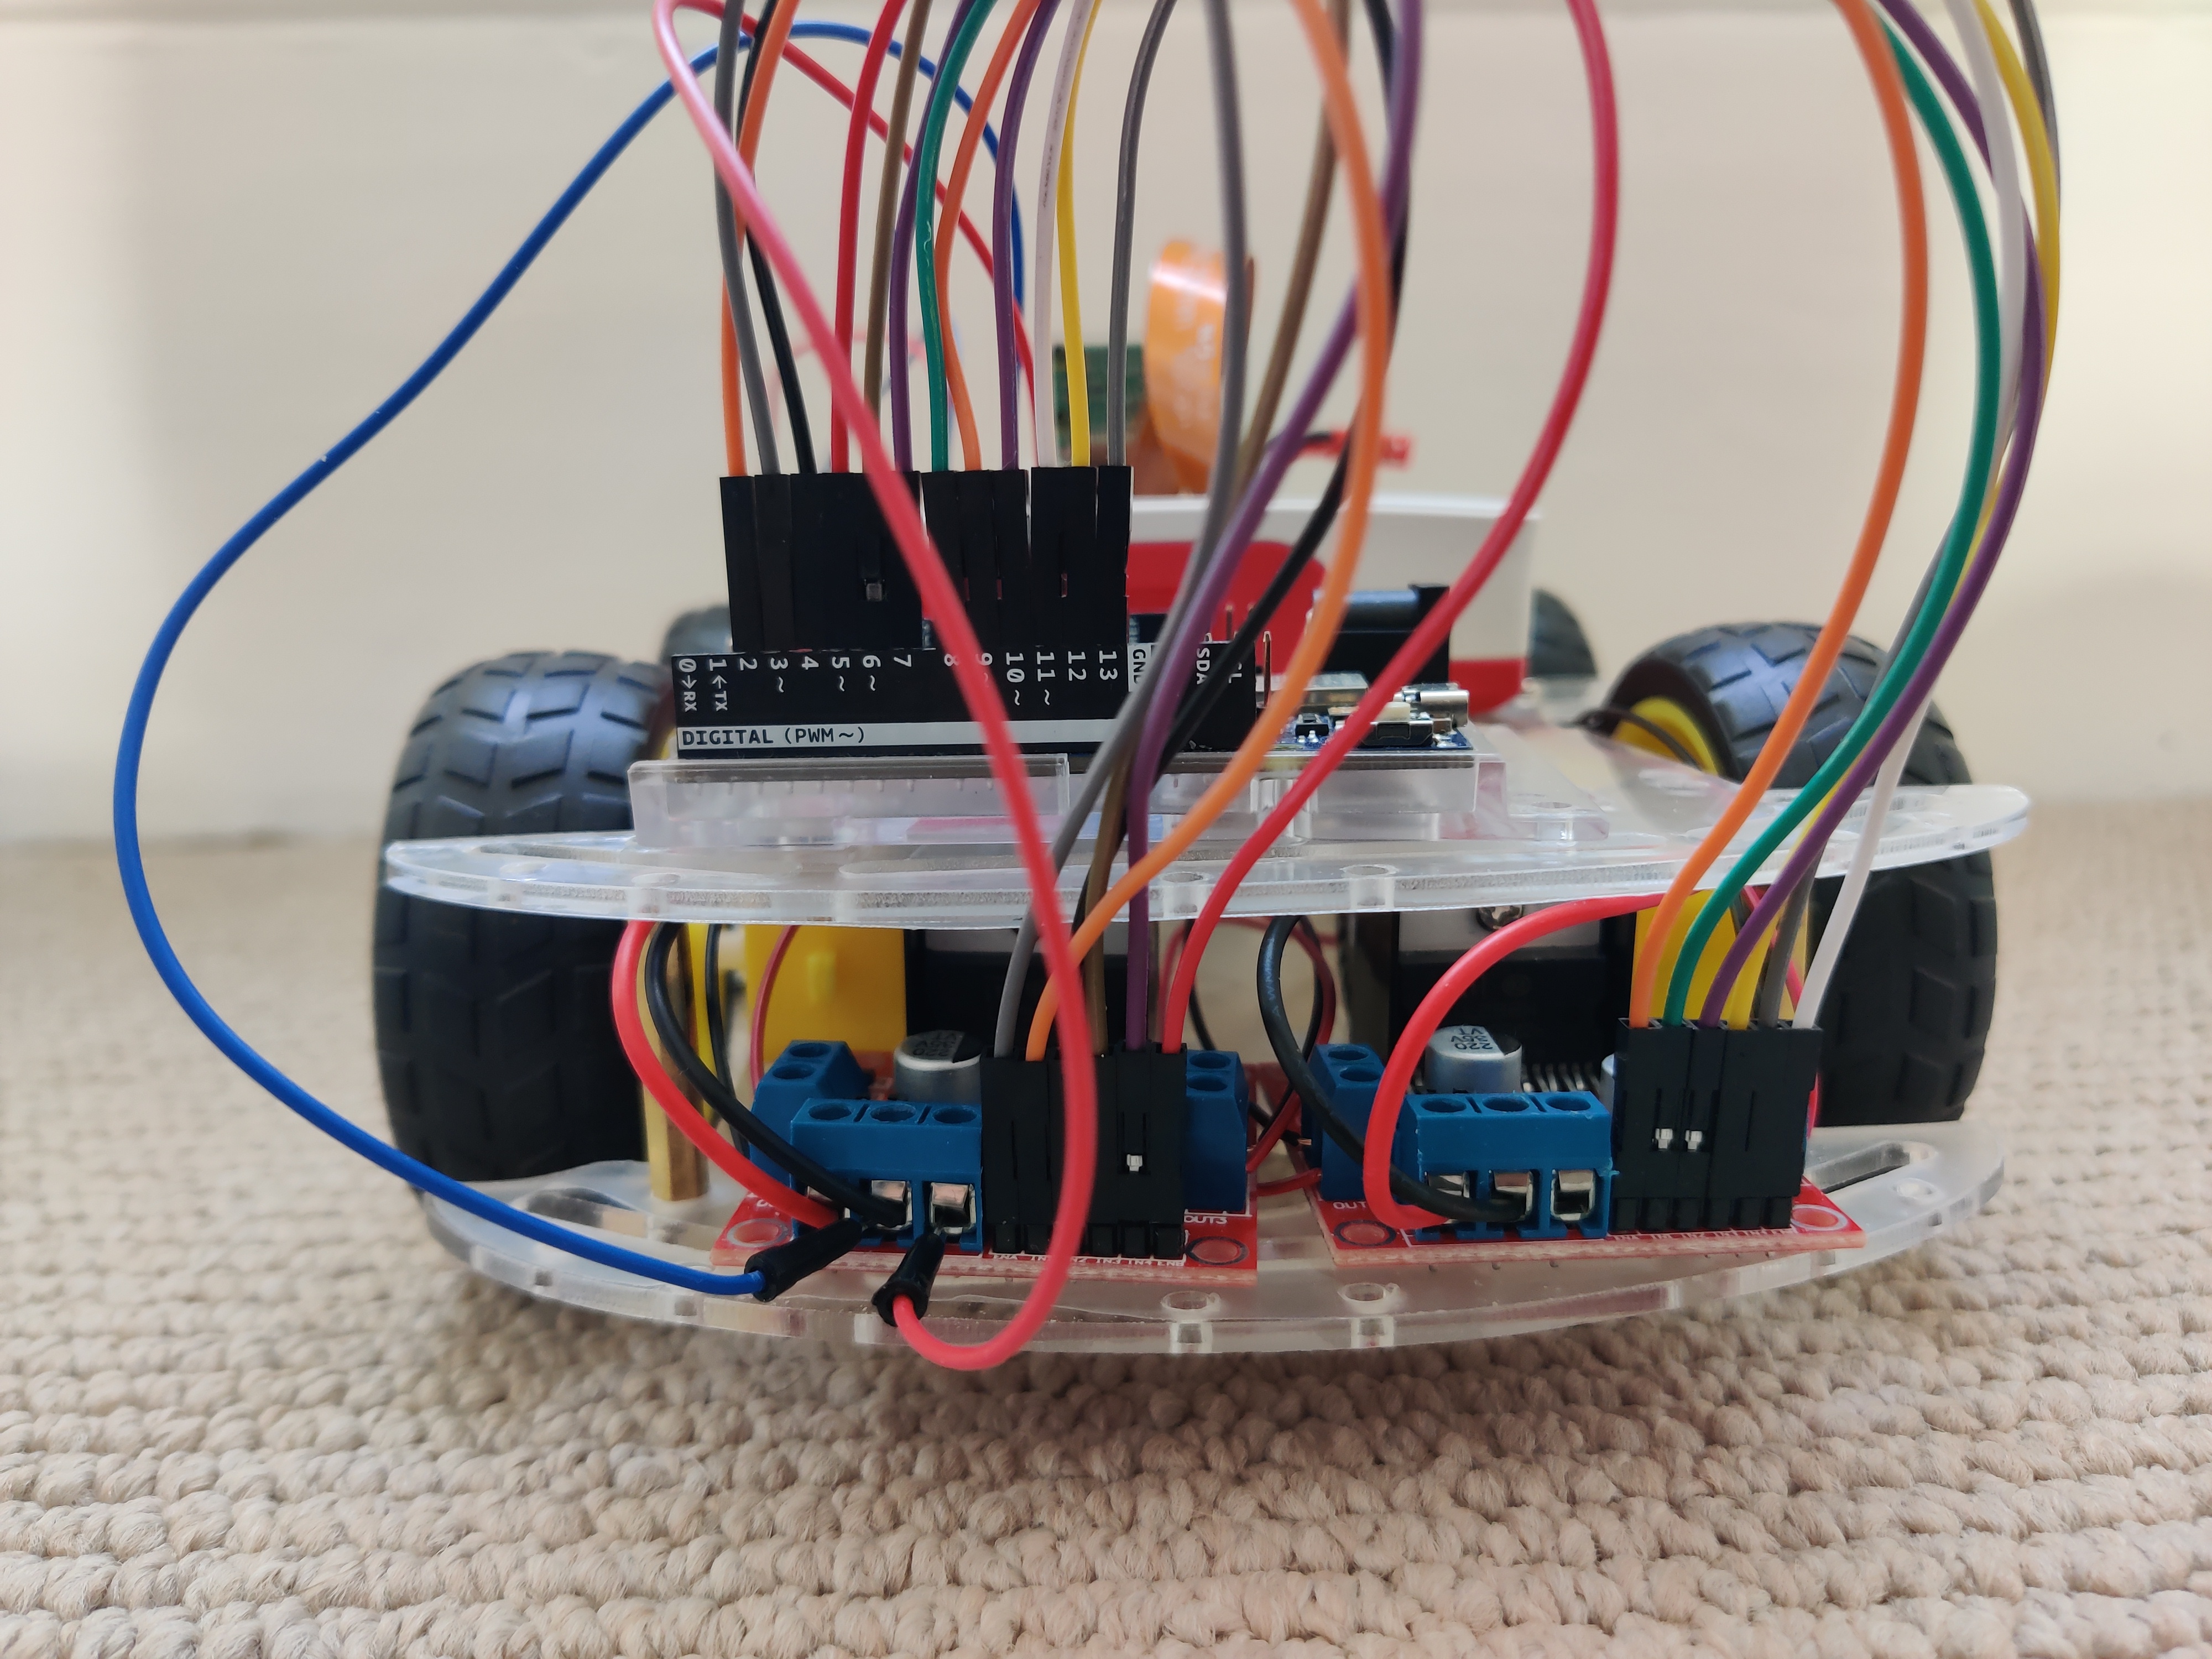
With the introduction of the Pi, the buck converter, and camera, the car has become rather busy! Fitting it all on required completely rearranging and rewiring the car from part 1. I’m pleased with the setup now, except for the fact that the upper plastic chassis of the car is actually touching the tops of the heatsinks on the buck convert and motor drivers. I ordered some standoff spacers to raise the upper level, but was sent the wrong size, so tbc.
Next steps will be to start experimenting with some AI models, either running locally on the Pi, or just over Wifi from my laptop, and to rewrite the software side of this project to use ROS2.